Showing posts with label crafting. Show all posts

Wednesday, April 20, 2011

Scarf in less than 5 minutes

I went to Joann's last week and bought a lot of fabric on sale. Can't beat 50% off already reduced prices!! 

One of the fabrics I bought is Mizzou's school colors...

I got a 1/2 yard for $1.25!!! 

I decided this would make a great scarf! So I wanted to cut it in half. I'm not sure what kind of material this is, but it's really light weight. The lady at Joann's was nice enough to tell me you have to tear it, not cut it, to get a perfect line. So I made a slight cut with my scissors and then ripped it into two.  

It's a little shorter than I would have liked, but for $0.75 I really cant complain!!

Sorry this picture is blurry, but you can still see how cute it is! The whole process took me less than 5 minutes (I did it this morning before going to work). I might go back and sew a few stitches around the frayed edges, but for now I love it! 

Total Estimated Costs: 
Material.....................$0.75 (1/2 yard originally $2.50 with 50% off and then used half) 

Total..........................$0.75


Sunday, April 17, 2011

First Craft Fair=HUGE success!!


As of today I have officially completed my first craft fair experience!!

{Sigh of relief} :)


 After many long hours spent cutting out felt, hot gluing, and watching Netflix, I was pleasantly surprised when I sold out of a few different things early on. This truly was a learning experience and looking back, I would have made more owls and earrings!

Throughout the day we were able to handout about 100 of our business cards as well as gain interest from several local boutiques. Never in a million year did I think our items would be such a hit! In fact, if you had asked me my goals before the day started I would have told you, "I just want to sell at least 5 items". Little did I know...

Today made me realize I really need an Etsy shop. I can't tell you how many times I was asked today if I had one...who knew so many people outside of the crafting world even knew what Etsy was!??! I hope to have my Etsy shop up and running with several items by the end of the week.

 I just wanted to say one final THANK YOU to all of you who came out and supported us at Earth Day! You truly are amazing! And for those of you who couldn't make it out, but were there in spirit I thank you for all your kind words of encouragement!

Now here is a little glimpse of my day...

Setting up...


I captured us making a few sales when it wasn't too crazy...


A the end of the day we were tired but trying to have a little fun...


Checking out the streets around us...


Time to get some rest. Signing off until Wednesday! Hope you had a FABULOUS Weekend!


Friday, April 15, 2011

Preparing for the Craft Show

IT'S ALMOST HERE....
SUNDAY!

I Have started getting things ready for this weekend...display boards, containers, etc. I thought I would give you a quick glimpse into the direction I am going for those of you who won't be attending the festival...

 My awesome banner!!! 


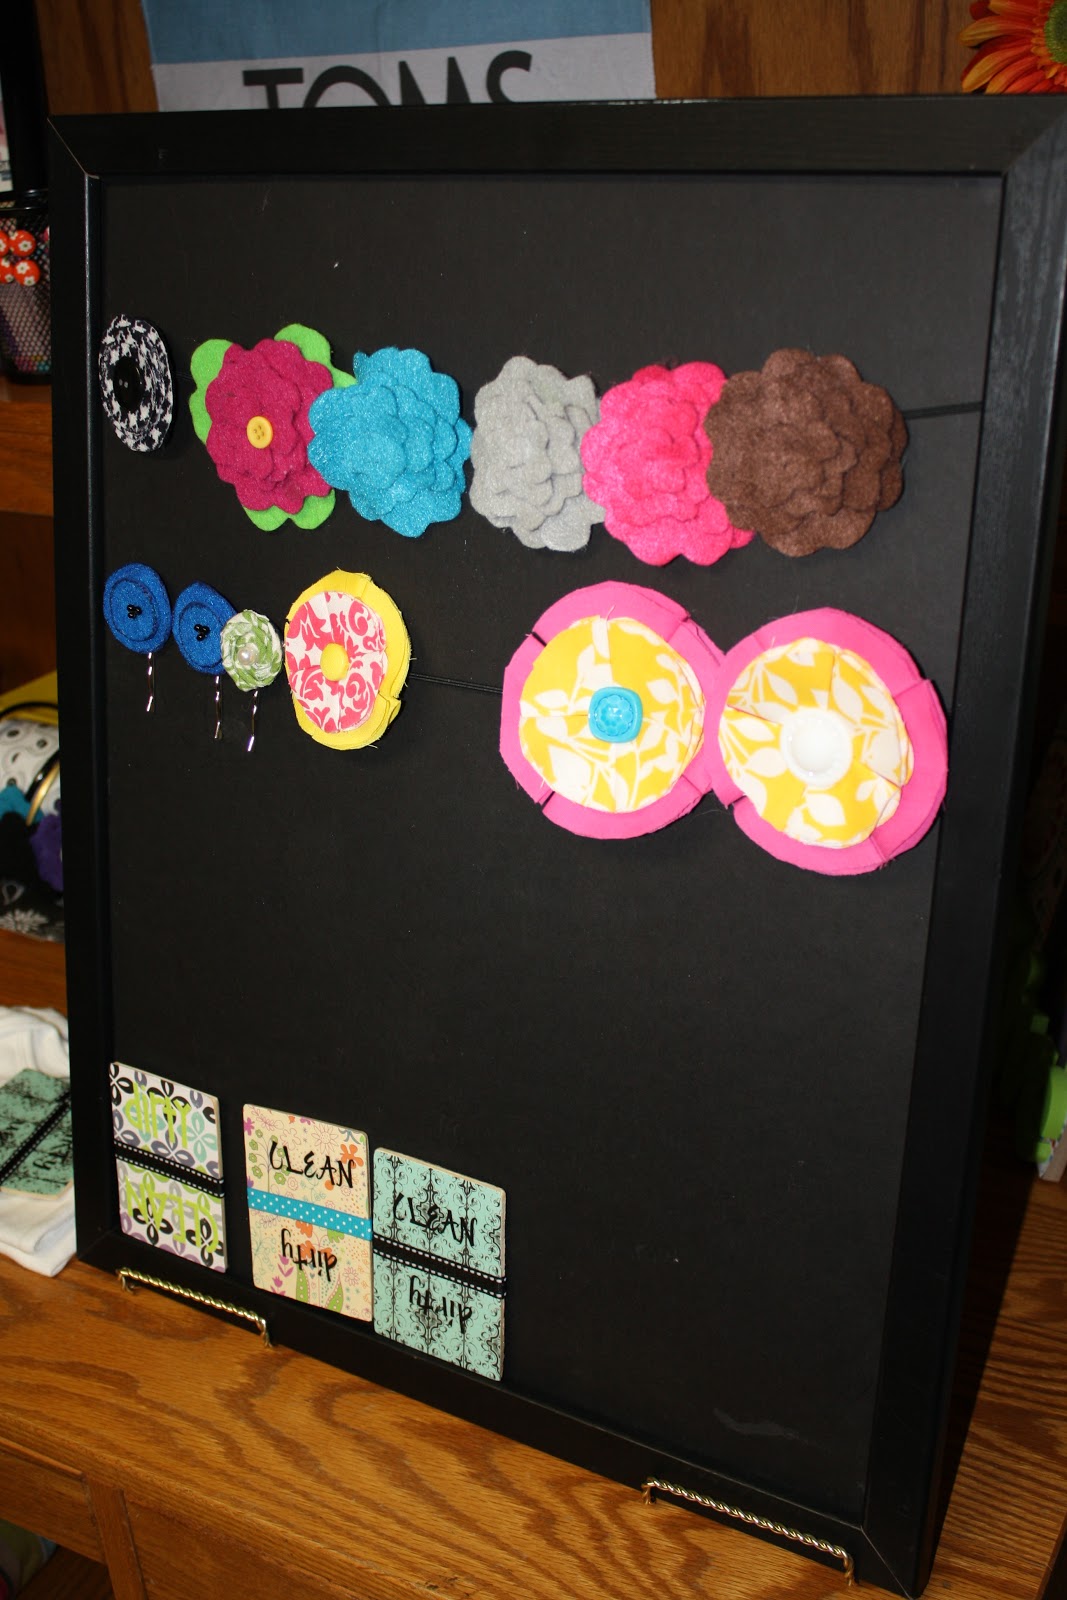
A display board to put all of my pins and dishwasher magnets on...I still need to put more on, along with tags! 

 Remember this tutorial? I have multiple colors in pins...

 Felt Flower Pins

 Felt Owls

 Headbands....this will be tricky to make them stand-up...any ideas? 

Make shift holder for earrings and business cards! 

 My pretty business cards to hand out! 

 Pearl Bracelets. 

 Elastic Headbands....

 Another style of felt/elastic headbands

I am so nervous excited!! I am just hoping to sell something and praying for good weather (it's outside). 

HAVE A WONDERFUL WEEKEND!!


Friday, April 8, 2011

Flower Pin Tutorial

Spring has finally sprung...and I am in some {desperate} need of bright and cheerful colors! Here is a project I shared a few weeks back on my blog swap with Funkymom Cards. Enjoy!


The Flower Pin Tutorial

First thing I did was gather my supplies

I used two sizes of circles made out of felt, the smaller is roughly 2.5 inches wide and the bigger is about 3.5 inches wide. 

I traced around the big circle on my green fabric 8 times and then cut them out. 

I then folded the circles until I had a "piece of pie". I secured them with a straight pin to keep it in the "pie" shape. 

I repeated this process over and over until I had 8 of the green and 8 of the patterned material (use smaller circle here). 

Next, I ironed each piece to make it lay flat. I then removed the pin.

I took the biggest felt circle and began sewing the green pieces to it until the white circle was completely covered. 

Then I repeat the same process by sewing on the smaller pieces. (Make sure to place one smaller piece in the middle (space) of two of the larger pieces).

I added a decorative button to the middle to make it really pop. 

Finally, I took the smaller felt circle and cut two small slits in it and put a pin through the slits. I then hot glued this circle on to the back of the flower pin to ensure the pin stays.

And there you have it....Your new Spring Accessory! 

Monday, April 4, 2011

Velcro Wreath for Every Season or Holiday

I don't decorate for every season because I hate having to store all the items for 11 months out of the year. However, I think I came up with a good solution for people like me...a simple wreath that is interchangeable for each holiday. Yes, there is still a little storage required, but no more than a shoebox size! 

Here are the supplies I used... 
The wreath and the ribbon came from the dollar store and then the rest came from Hobby Lobby. 

First, I made a bow out of the ribbon and added velcro to the top of the wreath. This will allow for me to change the bow for each holiday/season. 

Next, I painted the wooden piece with gray paint I had on hand and then hot glued it to the wreath since this is the only piece that will stay on year round. 

I then painted the letters "WELCOME" with white paint and attached them with glue to the gray piece. I placed more velcro at the bottom of the wreath to allow for decorations to be changed out. 
{I some how managed to miss taking a picture of this part}

Here is the finished product...my Spring wreath. 
I'll try to remember to show you how my wreath changes for each holiday and/or season! 

Estimated Costs
Wreath.............$1.00
Ribbon............$1.00 (used 1.5 feet out of 9)
Wood..............$1.50 (used 40% off coupon) 
Velcro.............$0.50 (had on hand) 
White Paint.....$1.00 
Letters............ $1.00 ($3.00 for a whole pack)
Bird................$0.50
Hot Glue........$0.50

Total Costs: $7.00